
Routines for
Recovery & Flexibility
A practical reference for using foam rollers, massage balls, and stretching equipment at home or in the gym. Built for beginners and athletes who want clear, repeatable routines they can trust.
Inside This Guide
Eight chapters · approx. 12 min readGetting Started with Foam Rolling
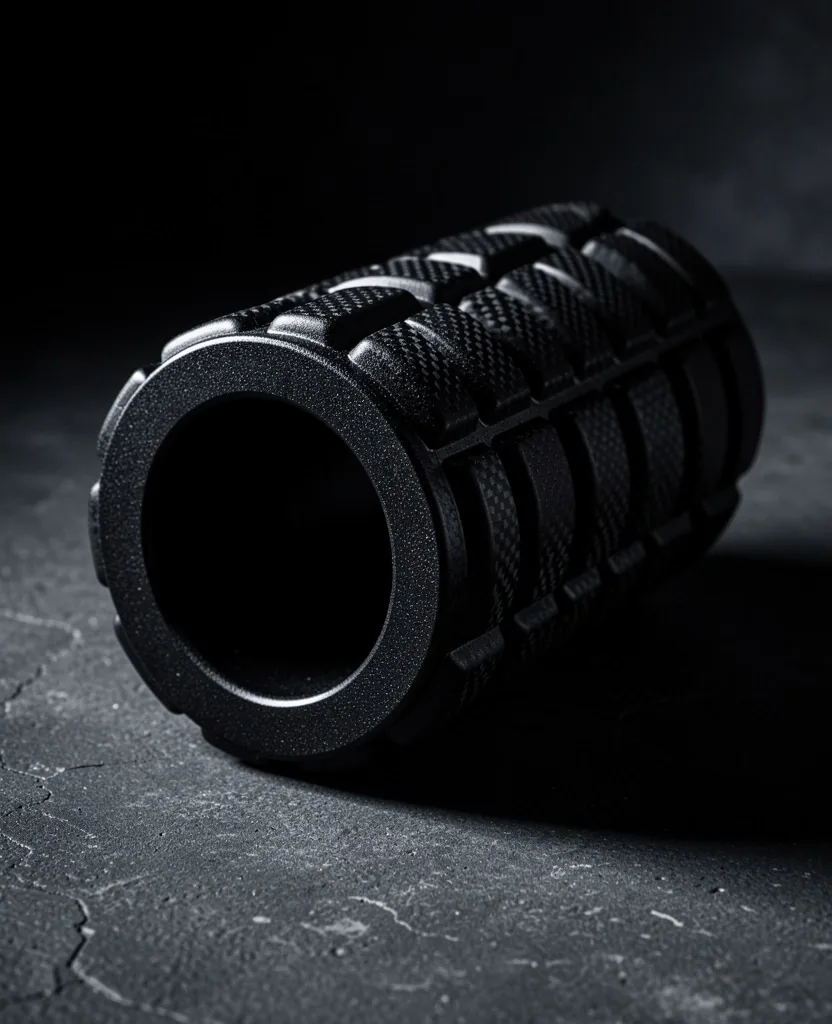
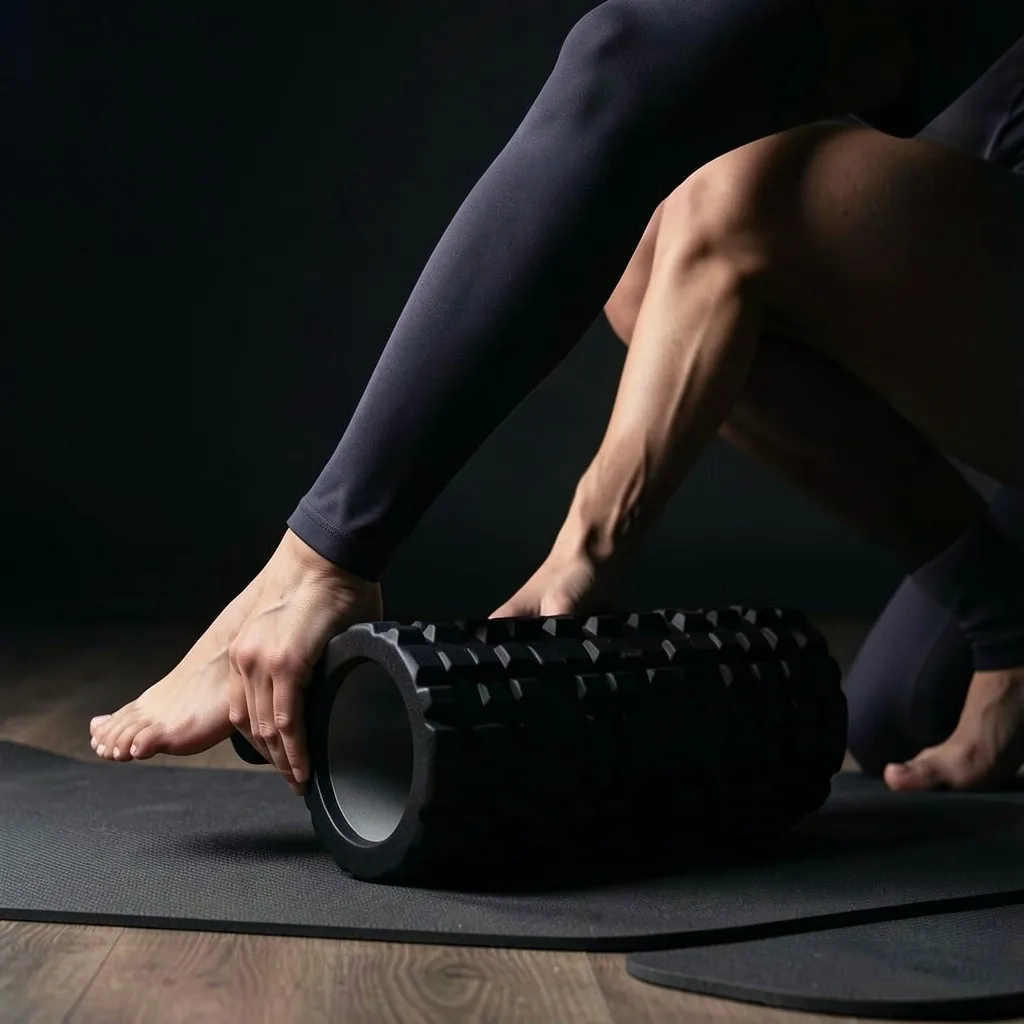
Foam rolling is a form of self-myofascial release that anyone can perform at home. To begin, place the muscle massage roller under the target area and slowly move your body so the roller glides along the muscle. When you find a particularly tight spot, hold the position for 20 to 30 seconds until you feel the tension begin to dissipate.
It is a simple process that requires only a few minutes each day to be effective. Focus on one muscle group at a time, breathe steadily, and let your body weight do the work rather than forcing extra pressure.
Sensation check: you should feel a firm but manageable pressure. Sharp discomfort means you are pressing too hard or rolling over bone rather than muscle.
Stretching for Beginners
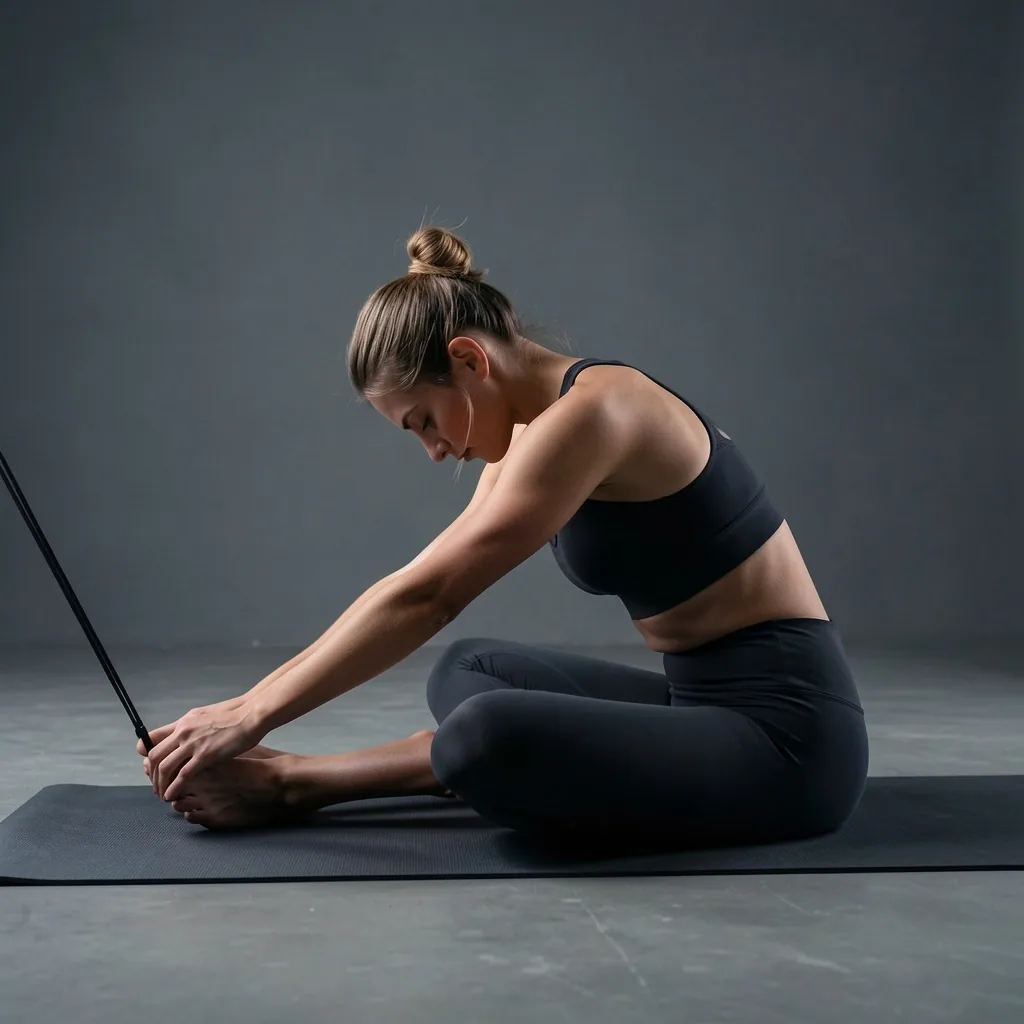
If you are new to flexibility training, the key is to start slow and focus on the major muscle groups. Begin with simple movements on a yoga mat, such as touching your toes or a basic seated twist. Use resistance bands to help you reach further if you feel restricted.
The most important rule for beginners is to never force a stretch. You should feel a gentle pull, not a sharp sensation. Ease into each position, hold for 20 to 30 seconds, and breathe steadily throughout. Consistency matters more than depth — a short daily routine builds more flexibility than occasional long sessions.
Addressing a Stiff Back
A stiff back is one of the most common physical complaints in the UK today. Incorporating a routine for stretching for a stiff back can provide significant relief after a long day. Movements like the cat-cow or child's pose on a cushioned mat help to mobilize the spine and relax the surrounding muscles.
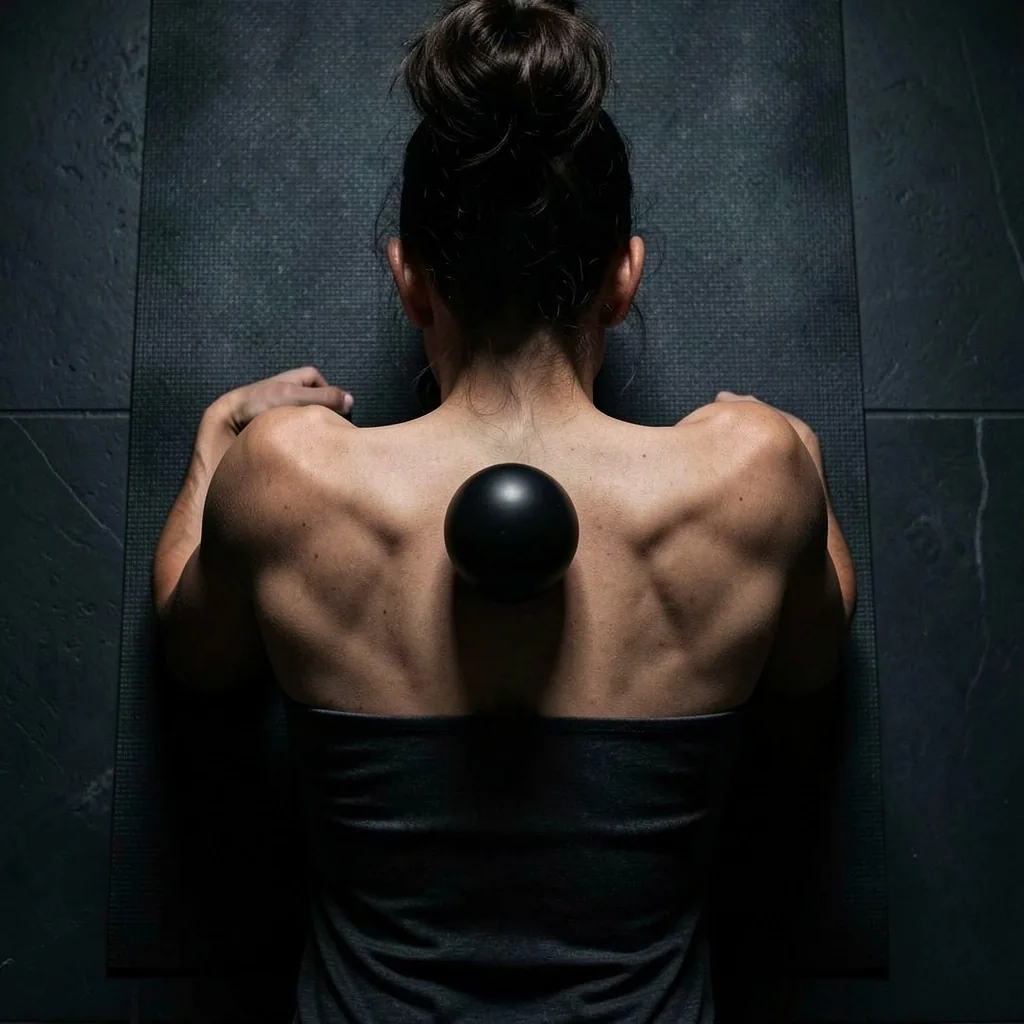
Combining these stretches with the use of a peanut massage ball on the upper back can help address the root causes of stiffness. Place the ball on either side of the spine — never directly on the vertebrae — and let your weight create gentle, sustained pressure.
Caution Always place the peanut ball beside the spine, not on it. Roll slowly and avoid the lower back if you are new to the technique.
Joint Mobility Equipment and Its Use
Joint mobility refers to the degree to which a joint can move through its intended range. Using tools like small massage balls for the ankles or resistance bands for the shoulders can help maintain this range. Mobility work is different from stretching; it focuses more on the movement of the joint itself rather than just lengthening the muscle. Regular mobility sessions can lead to smoother, more efficient movement patterns over time.
Ankle Mobility
Small massage balls placed under the foot help loosen the calf and ankle complex for smoother walking and running gait.
Shoulder Range
Resistance bands create controlled assistance for overhead reaching, rotator movement, and cross-body shoulder work.
Hip Mobility
Gentle rotations and banded hip flexor drills keep the pelvis moving freely and reduce pull on the lower back.
Thoracic Spine
A foam roller placed under the upper back supports gentle extension drills that counter long hours of sitting.
Effective Post-Workout Recovery
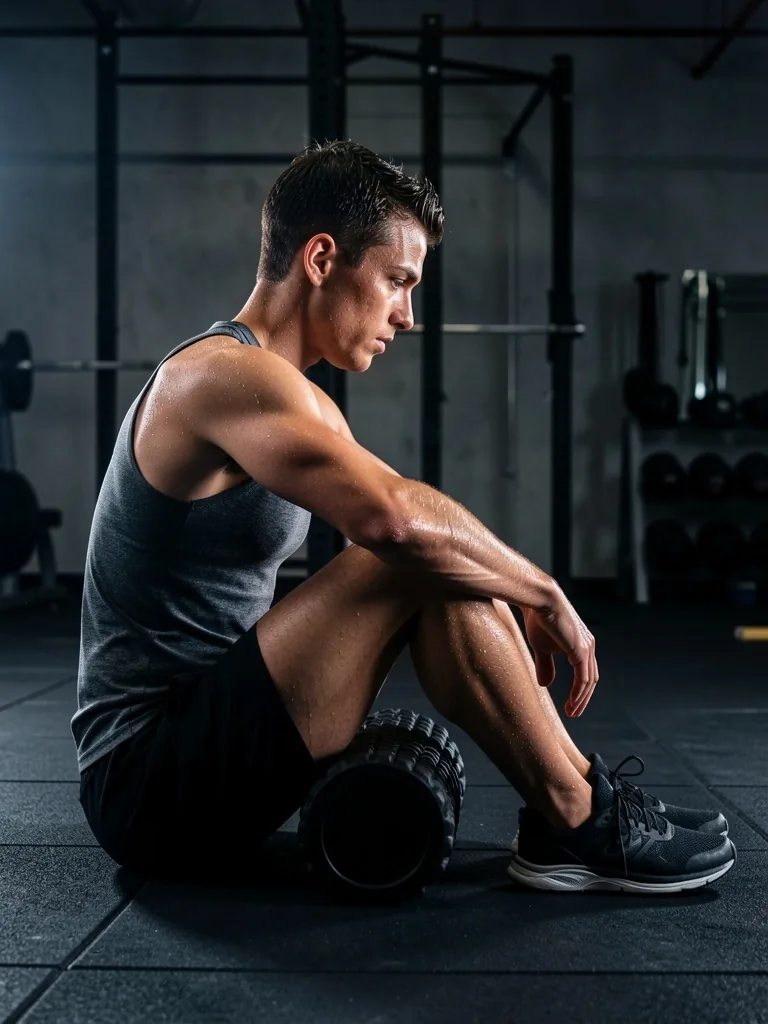
What you do after your workout is just as important as the workout itself. Using a foam roller immediately after training can help move metabolic waste out of the muscles and reduce the intensity of next-day stiffness. A combination of rolling and light stretching helps the body transition from a high-intensity state back to a resting state.
Making this a non-negotiable part of your gym session will pay dividends in your long-term consistency. Even five minutes of focused rolling on the areas you just trained helps the muscles settle and prepares them for your next session.
Improving Flexibility Over Time
Improving flexibility is a slow process that requires patience and regular practice. You will not see massive changes overnight, but over weeks and months, your range of motion will increase.
Track your progress by noticing how much easier daily tasks become — reaching a high shelf, bending to tie your shoes, or turning to reverse the car — rather than just how close you are to the floor.
Our equipment is designed to grow with you as your flexibility improves, providing the support you need at every stage. A firmer roller suits early tension release; a softer one stays useful as you refine subtler areas.
The goal is not to reach a particular position on the first try. It is to show up regularly, move a little further each week, and let the accumulated sessions do their work.
Lower Body Foam Rolling Exercises
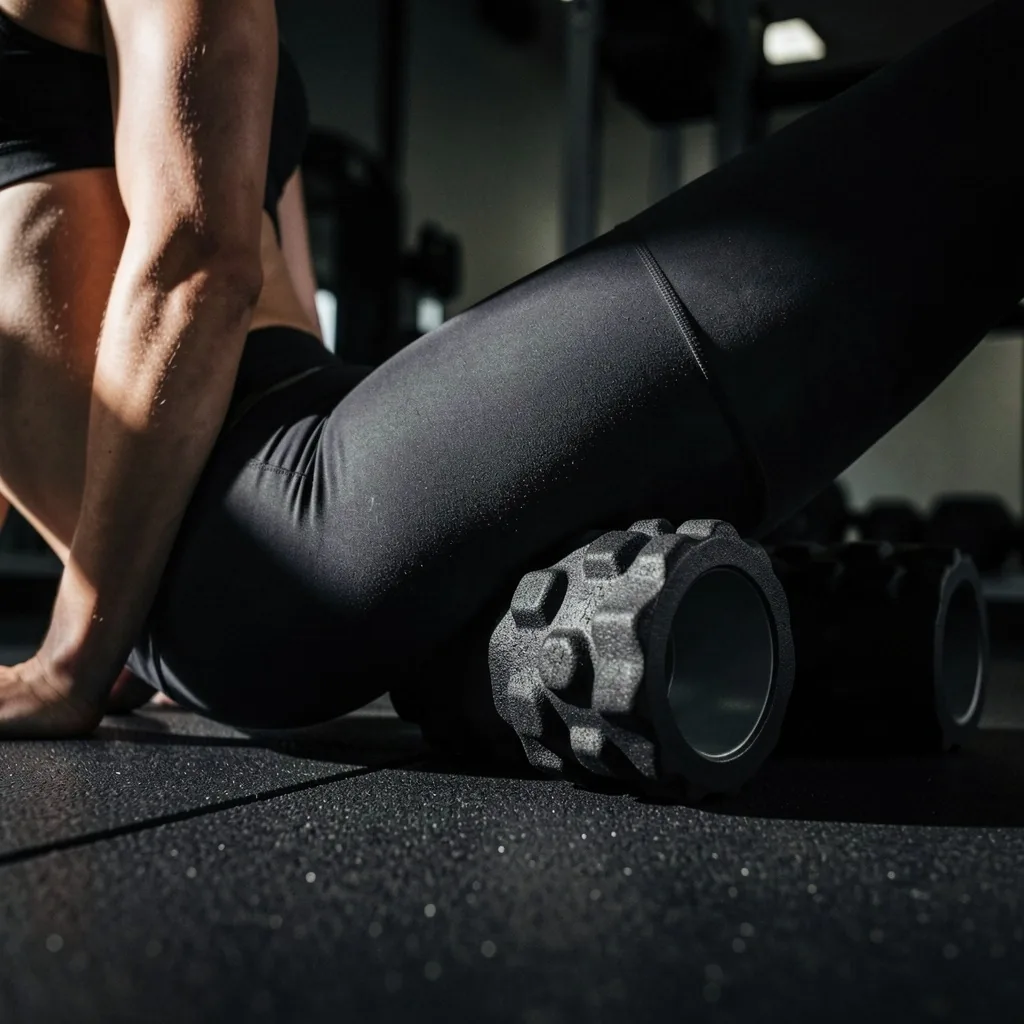
The legs and glutes often hold a significant amount of tension from walking and running. Key foam rolling exercises include targeting the iliotibial band, the calves, and the hip flexors. Using a roller on these areas can help maintain a fluid gait and prevent the tightness that often pulls on the lower back.
Spend at least two minutes on each leg for the best results. Work through each area methodically — calves first, then hip flexors, then the side of the thigh — and pause on any spot that feels denser than the surrounding tissue.
- Iliotibial (IT) band — outer thigh, slow passes
- Calves — ankle to knee, rotate foot inward and outward
- Hip flexors — front of hip, hold and breathe deeply
Safety Tips for Mobility Work
Safety should always be your first priority when using recovery tools. These guidelines apply to every routine in this guide — review them before you start, and revisit them whenever you add a new tool or technique.
Avoid Bony Areas
Do not roll over the knee cap, the front of the shin, or the direct spine. Focus instead on the fleshy muscle tissue surrounding these joints.
Check Existing Conditions
If you have any pre-existing physical concerns, it is always a good idea to consult a qualified professional before starting a new routine.
Listen to Your Body
Adjust the pressure or intensity of your stretching as needed. A firm, productive sensation is the goal — not sharp or lingering discomfort.
Stay Hydrated
Muscle tissue responds better to rolling and stretching when it is well hydrated. Drink water before and after each mobility session.
Breathe Through Holds
Steady breathing signals your nervous system to relax, which makes tight spots release more readily. Do not hold your breath during deep holds.
Build Gradually
Start with shorter sessions and lighter pressure. Add time and intensity over several weeks rather than going deep on the first day.
Put the Guide into Practice
Choose the equipment that matches your routine, follow the chapters in order, and build a mobility habit you can sustain. Every VitalForm tool is selected to support the techniques described in this guide.